Thursday, June 24, 2010

Learning GIMP Progress

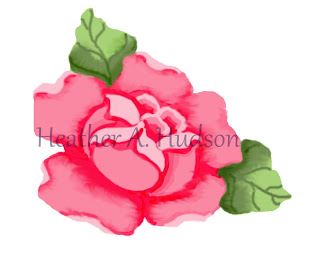
This is the first little Rose that I drew and painted with GIMP. I love it. I really didn't know what I was doing, but figured the only way I would be able to figure out what I was doing ...is to just do something...lol. I did print a bunch of these out and antiqued them...they look awesome!
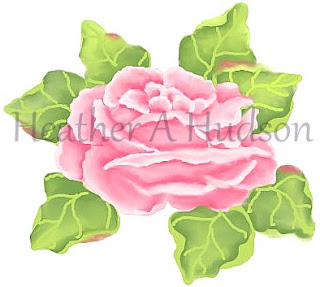
The rose below was done to use at the top of a tag. When I made it...I was having trouble with the palette. So maybe now that I have that figured out.....I will go back and fix it. Luckily I saved it in layers....so I can just change them! There is some pretty scary blending going on there...lol (or lack there of).


This was my second attempt of playing with GIMP. I really like it too. I just couldn't figure out how to save the colors I was using so it took quite a while...having to search for the colors again and again. My DH showed me how to make my own palette and I started on another rose...only to find out that GIMP doesn't have an auto save. So after spending an hour on a painting...it was lost due to the program deciding to close...lol. Lesson learned ...SAVE your work...lol.
The following rose was my third rose. I really like the colors on this one. Luckily I was able to save my palette....so I could use it again. Painting on the computer is much less messy (-: It still takes a long time...but there isn't any cleanup.


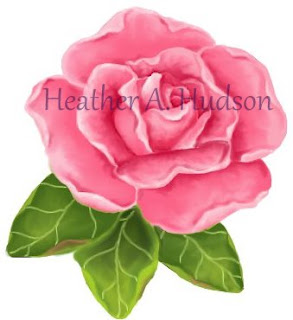
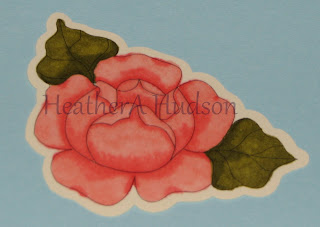
Here is GIMP Rose #4. I love it too. I learned this time how to change from gray scale to RGB. Every time I started to paint...shades of gray would show up. Of course my DH (Pete) helped me out with that. I hope with my next practice rose...to use the layer option more....so that I can practice background colors. Fun, Fun, Fun! Have a great day!


Sunday, May 23, 2010

Stamps I made using Speedy Carve by Speedball

Here are some stamp images that I made using the Speedy Cut or Carve (can't remember which one)...otherwise know as the "Pink Stuff". I carved these out and stamped them on plane white paper....and just tinted the whole image so you could make out the stamps.

Thursday, May 20, 2010

Cut on my Silhouette

Here are a few more little embellishments that I made using my new Silhouette Digital Die Cutting Machine, Printer and Copic Markers. This image I printed out on light pink card stock (avalue pack of card stock from JoAnn's called "Botanical"). It has light pink, dark pink, beige, light and dark green.

This print out was on Dark Pink cardstock and colored with the Copic Sketch Markers.
This one was printed on beige card stock and colored with Copic Sketch Markers.

This one was printed on light pink card stock, cut on my Silhouette Digital Cutting machine and colored with the Copic Sketch Markers.

Tuesday, May 18, 2010

For Marybeth

Hello Marybeth.....Here is the garden art piece that I have. You can see (kind of) how the piece screws into the adapter at the end of the vase. I love how yours looks like a flower.

I colored two more Tags

When I got home from running errands, I decided to color another set of tags. I like these even better :-) They were made the same way as the ones I posted earlier today..just colored differently with the copic sketch markers.


This is the second journal tag. I did some in other colors...but didn't like them...LOL

What I created today with my Silhouette and Copic Sketch Markers


After many trials and errors....I was finally able to come out with this tiny button on my Silhouette Digital cutting Machine. The line drawing of the rose was done by hand, then traced in Ink Scape, then put in Robomaster I added the scallop on the outside and then printed on our printer. Then I put the sheet into the Silhouette Digital cutting Machine, and it cut out the Scallop shape (I had to go into Robormaster and delete everything inside of the scallops, or it would of cut out everything). Copic Sketch Markers were then used to color the outside border pink with darker pink polka-dots, and to color the rose and leaf.

Here is a matching tag to go with the button. The same Rose was used, but once the line drawing was placed into Robomaster I made the tag shape using rectangle, oval and circle shapes. I also added the journal lines here as well. Again I printed (black) it out on the printer, then used the Silhouette to cut it out (again I had to delete all inside images or they would of been cut too). I then used Copic Sketch Markers to color in the edge with pink and added darker pink polka-dots. I used the Copic Sketch Markers to color in the rose and leave as well.


This is a photo of them on a light blue background.

Have a great Day!

Sunday, May 16, 2010

Baltimore Oriole


I was finally able to get a picture of the Baltimore Orioles that we are lucky enough to have in our yard. They make the most beautiful music.


This male was singing way up in our trees. He was so far up I didn't think the photo would come out. I was able to crop it, and was happy with the photo.